Webhook module allows your app to send data to any external URL at specific events called hooks.
This allows your app to talk to external software and send events data.
Currently, we support the below hooks
“mobile.register”,
“mobile.register.error”,
“mobile.register.success”,
“mobile.login”,
“mobile.login.error”,
“mobile.login.success”,
“mobile.logout”,
“mobile.logout.success”,
“mobile.profile.success”,
“mobile.awesomeforms.create.success”,
“mobile.awesomeforms.update.success”
“form2.submit.success”
“loyalty_card.complete”
How to Setup and Test/Use this Module
For visit Editor -> Modules -> Webhook and click on Add a webhook Button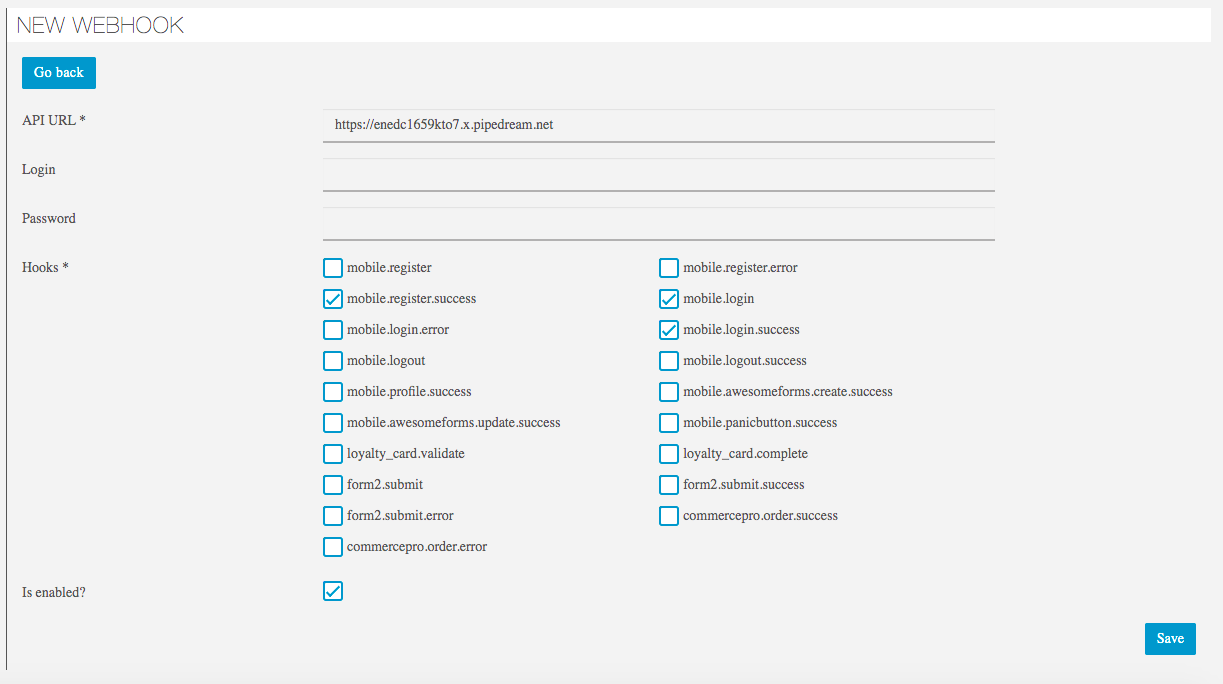
- Enter below API URL and relevant hooks to send data
https://enedc1659kto7.x.pipedream.net
Note: This API URL is test URL, you can debug and see what all parameters are sent. In live scenarios, you need to enter your own URL.
Don’t use this with sensitive data as all the data are publicly visible.
2. Create user account in APP and it will send data to the API entered. If you have used above test API then you should be able to see all the data here with parameters datails.
https://requestbin.com/r/enedc1659kto7
3. You can try selecting various hooks and verify how data is sent, your programmer can use these parameters to code/process the data.
if you don’t want your developers to code and process the data you can try Zaperi( explained below). It can help you to integrate many services.
Zapier Integration
you can connect your App data to 1500+ apps like Google Sheets,Mailchimp,crm etc without writing single line of code using zapier know more
Example : Sync Google Sheet when Form is Submitted
Step 1: Create a form using basic form or awesome forms module in App Editor
Step 2: Go to Editor -> Modules -> Webhook and click on Add a webhook Button
Step 3: Zapier Side Setup. You need API URL which will be provided by Zapier. Login to zapier and go to Dashboard
Click Create Zap Button
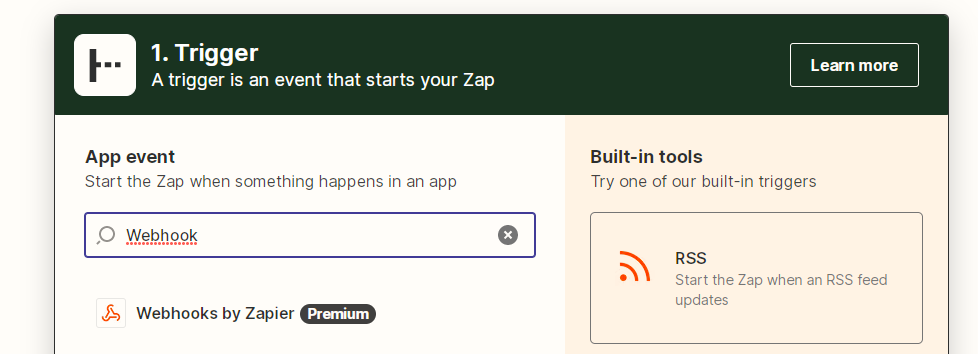
It will ask Trigger or App Event, Search and Select Webhook by Zapier
Next Select Catch Hook as Event and Click Continue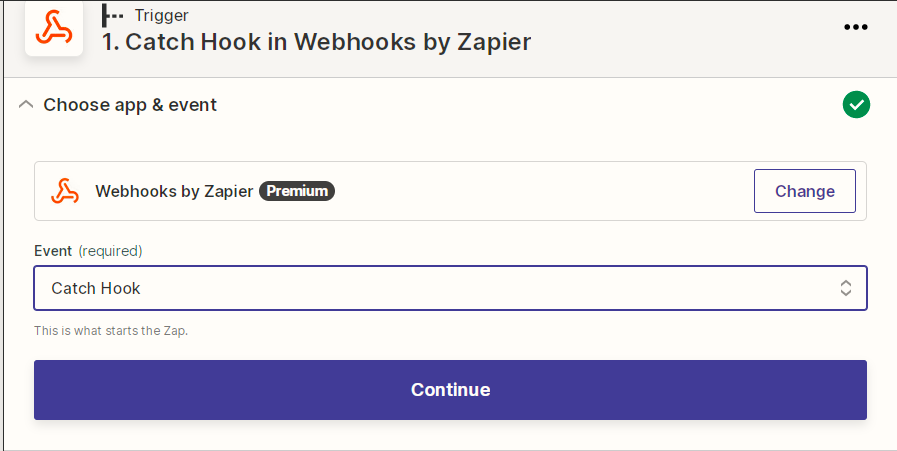
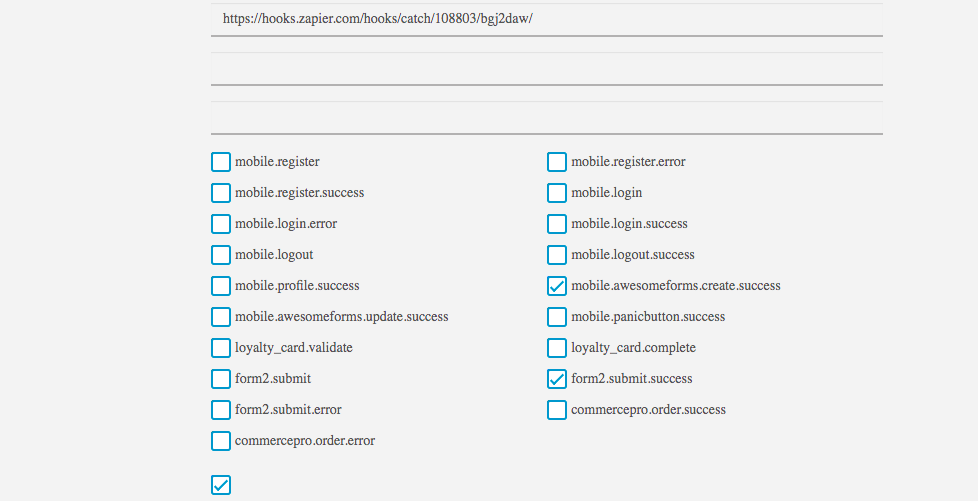
Copy Webhook Url from Zapier and Paste it in Add webhook form of App Editor and Select your event form2.submit.success / mobile.awesomeforms.create.success or commercepro.order.success and hit save. Select event for which you want to sync data in Google Sheet.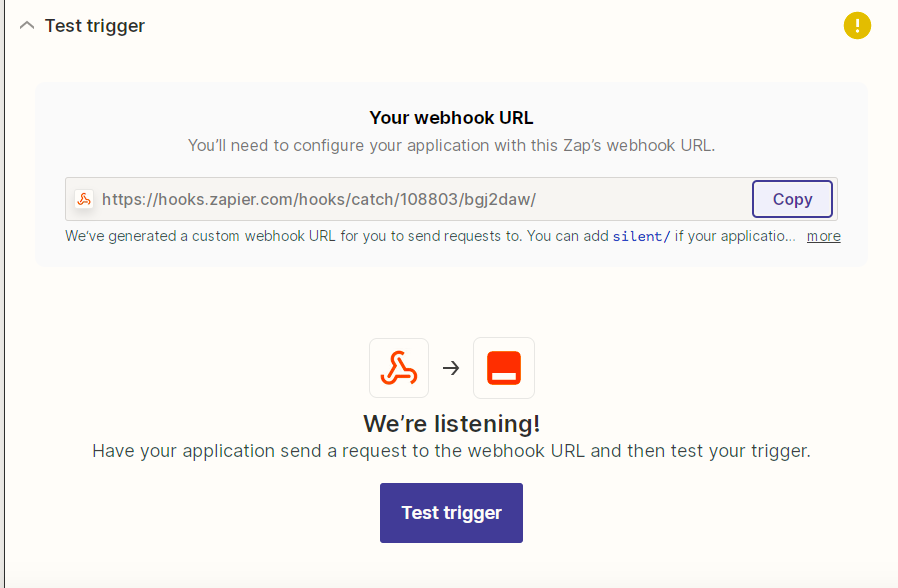
5. After Saving URl clicking on Test Trigger in Zapier Side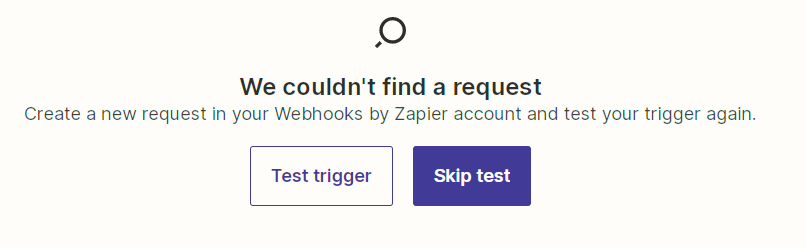
It will throw error if you have not triggered the event in app. So submit the form in App which will trigger form2.submit.success event and will send data. And then click Test trigger button again.
We submitted the form to trigger the event in screenshot below.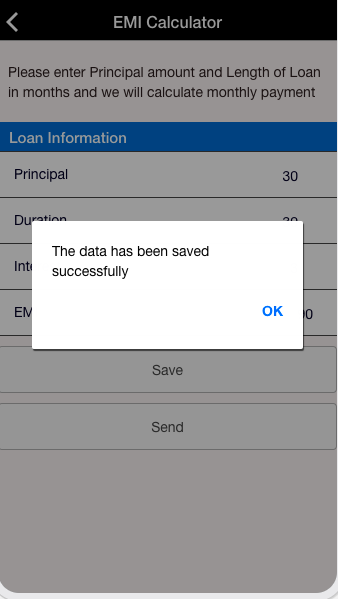
We can see request in Zapier after clicking Test Trigger. 
You will see all the parameters and data sent.You can ignore some data if you don’t understand these stuff. Just hit continue.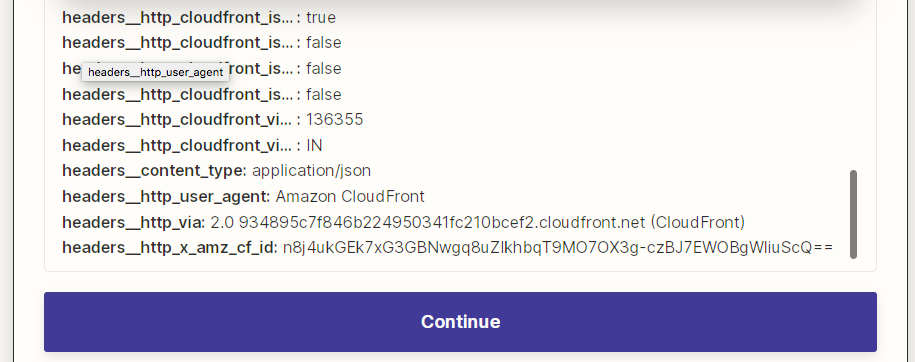
Now you have to select the Action you want to take after zapier receives data, here we want to create a row in Google Sheet so we will search and select Google Sheet.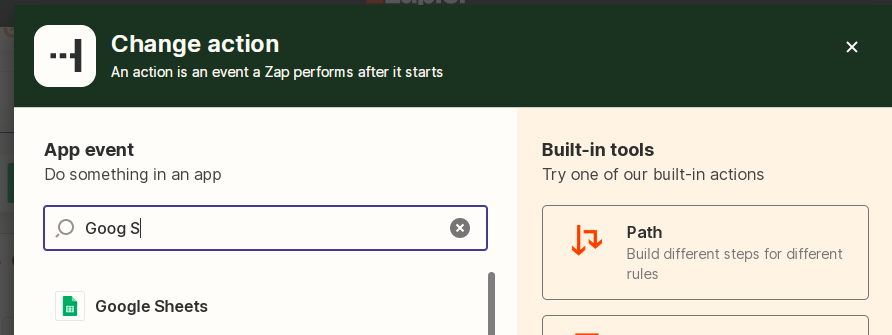
And then select an Event called create spreadsheet Row. You can also select update spreadsheet in case you want to update row.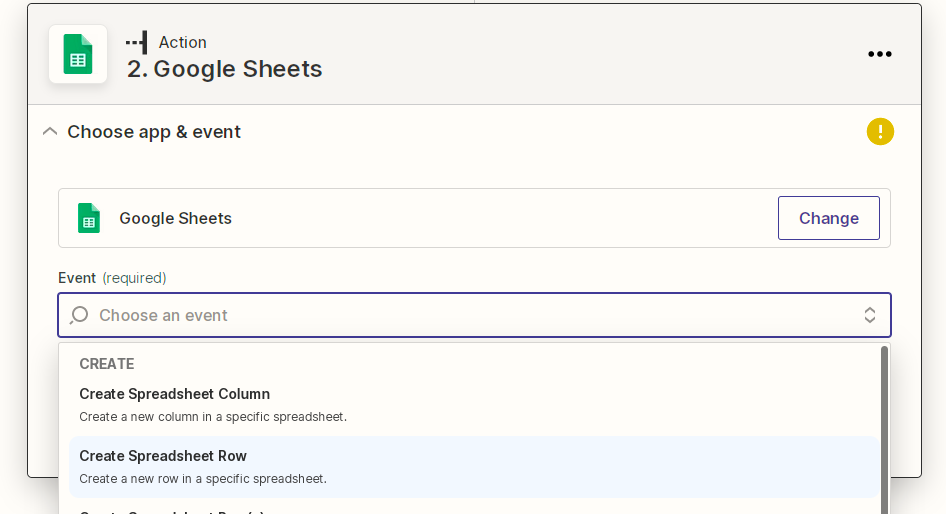
After selecting your choices hit Continue Button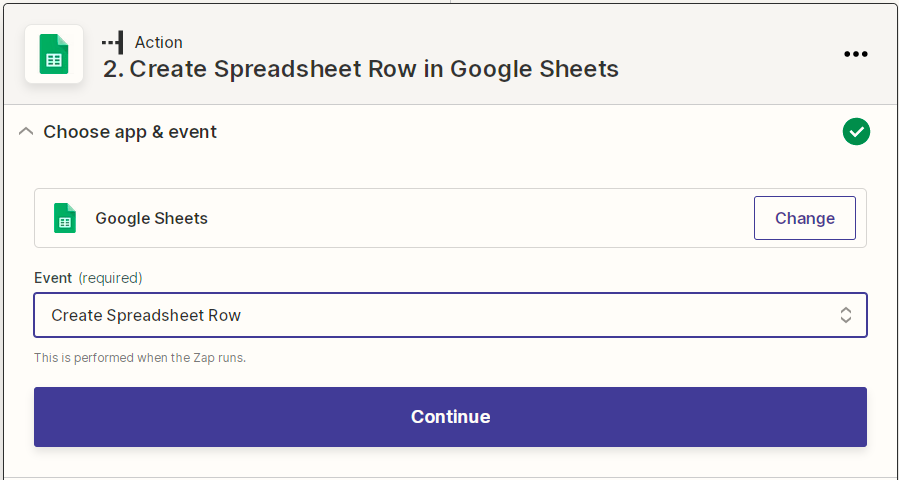
Now you will have to authenticate using Google and Select your Google Sheet file to push records.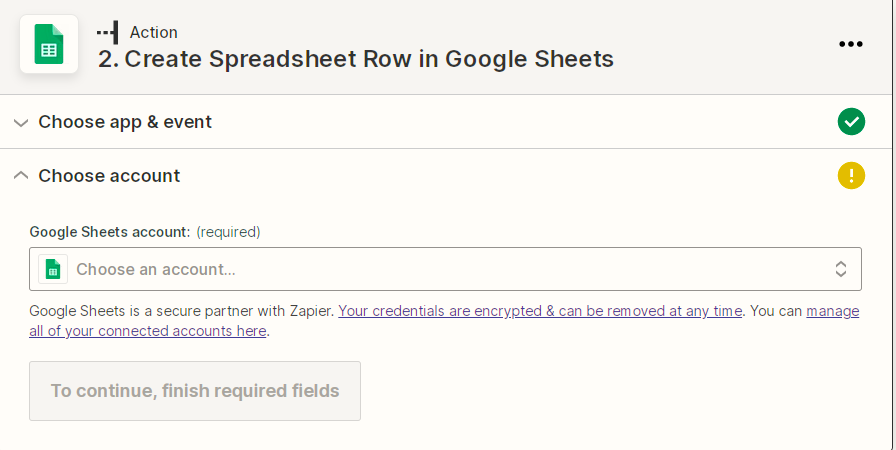
After Connecting Account it will ask you to choose Drive and then Select Spreadsheet file.
Then choose Sheet in that Spread Sheet file as shown in screenshot below.
Email /EMI in the screenshot below is the column name from Spreadsheet.
Column names can be different in your case. So create columns in your spreedsheet and it will be displayed here. 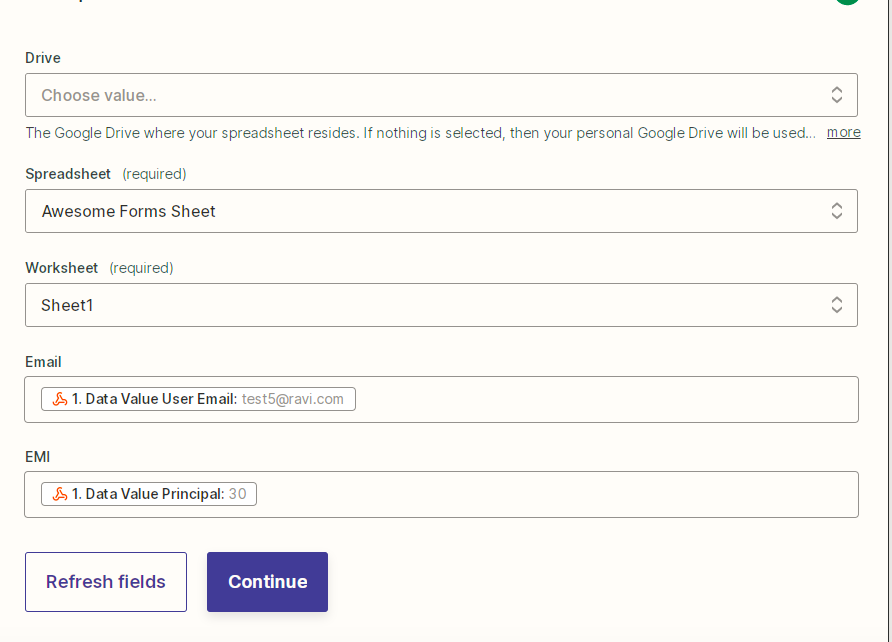
In case your file name or column is not diplayed try clicking refresh fields and sometimes you have to wait for few minuets to sync changes if you have recently created file/column.
Now you have to map Column with data coming from Webhook.
We wanted to map EMI column with principal field so we searched principal and select the parameter name with Data Value Pricincipal. The number 30 displayed in screenshot below is our last submitted data for that field.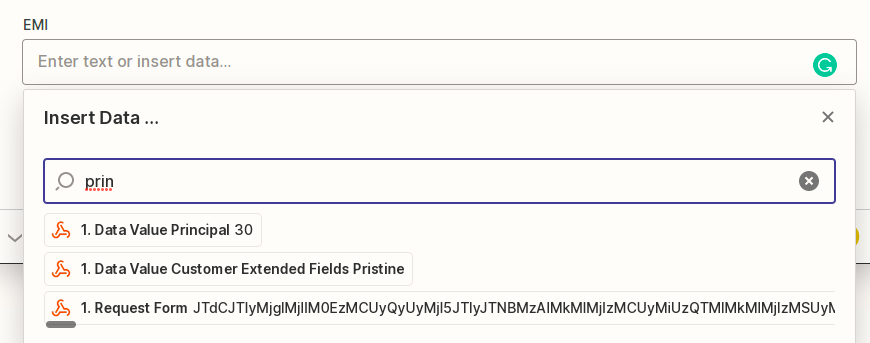
In this way you can search any field and map it to any column you want to store.
After mapping columns with right parameters click continue and you should see somthing like below screenshot.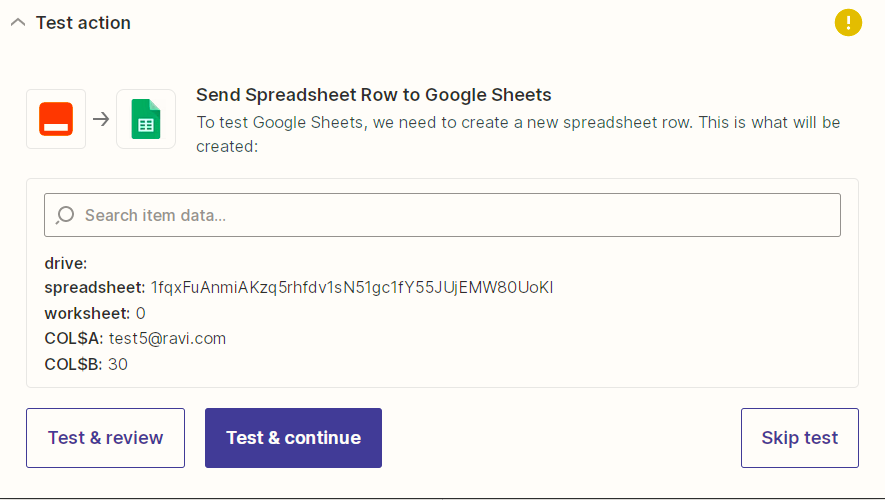
Click on Test & continue button, it will send last recieved data to your spreadsheet file. 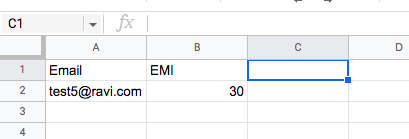
Now my spreadsheet has new row automatically synced and everything is expected as per my requirements.
If some data is wrong then you can go back to last step and change fields mapping.
If you feel your data is fine in spreadsheet then hit Publish Zap to start capturing records.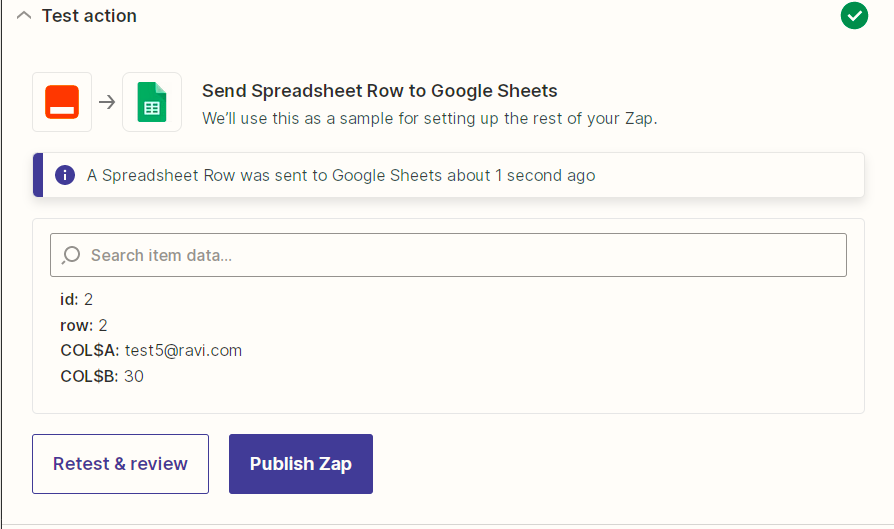
Hit Publish and Turn On to keep syncing data when form is submitted.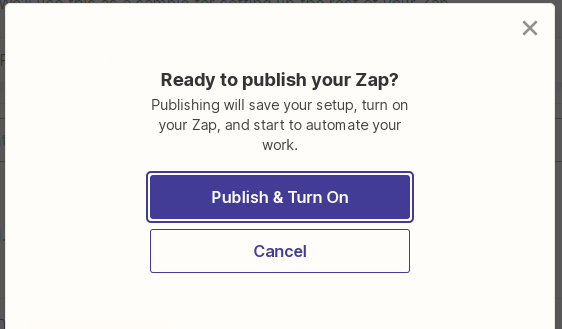
Now after filling the form in App is Automatically creating record in Google Sheet.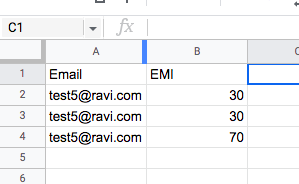
This way you can sync any data to Google Sheet.
You can change event and parameters to achieve your different goals.
With Zapier you can’t just sync with Google Sheets but can triggere events with 1500+ Apps.